最近腾讯云开展了10周年优惠活动,整体活动力度很大,我也借机使用了新用户特惠,花费528元购买了3年香港云服务器,也借此使用Docker部署了V2ray,给科学上网又开了一道门。
整体环境
云服务器实例规格:标准型S2 | S2.SMALL1
地域:中国香港
操作系统:Ubuntu Server 20.04 LTS 64位
CPU:1核
内存:1GB
公网带宽:1Mbps
安装 Docker
可参照 Docker 的介绍完成 Docker 的安装。
- 安装依赖包,解决依赖关系
shell
sudo apt-get update

sudo apt-get install \
    apt-transport-https \
    ca-certificates \
    curl \
    gnupg-agent \
    software-properties-common
- 添加官方GBG密钥
shell
curl -fsSL https://download.docker.com/linux/ubuntu/gpg | sudo apt-key add -
通过搜索 9DC8 5822 9FC7 DD38 854A E2D8 8D81 803C 0EBF CD88 后八位,验证密钥是否已添加。
shell
sudo apt-key fingerprint 0EBFCD88
结果如下:
shellpub rsa4096 2017-02-22 [SCEA] 9DC8 5822 9FC7 DD38 854A E2D8 8D81 803C 0EBF CD88 uid [ unknown] Docker Release (CE deb) <docker@docker.com> sub rsa4096 2017-02-22 [S]
- 设置稳定版本仓库,选用
x86_64 / amd64架构版本
shell
sudo add-apt-repository \
   "deb [arch=amd64] https://download.docker.com/linux/ubuntu \
   $(lsb_release -cs) \
   stable"
- 安装 Docker 社区版引擎
shell
sudo apt-get update
sudo apt-get install docker-ce docker-ce-cli containerd.io
- 验证安装是否成功
shell
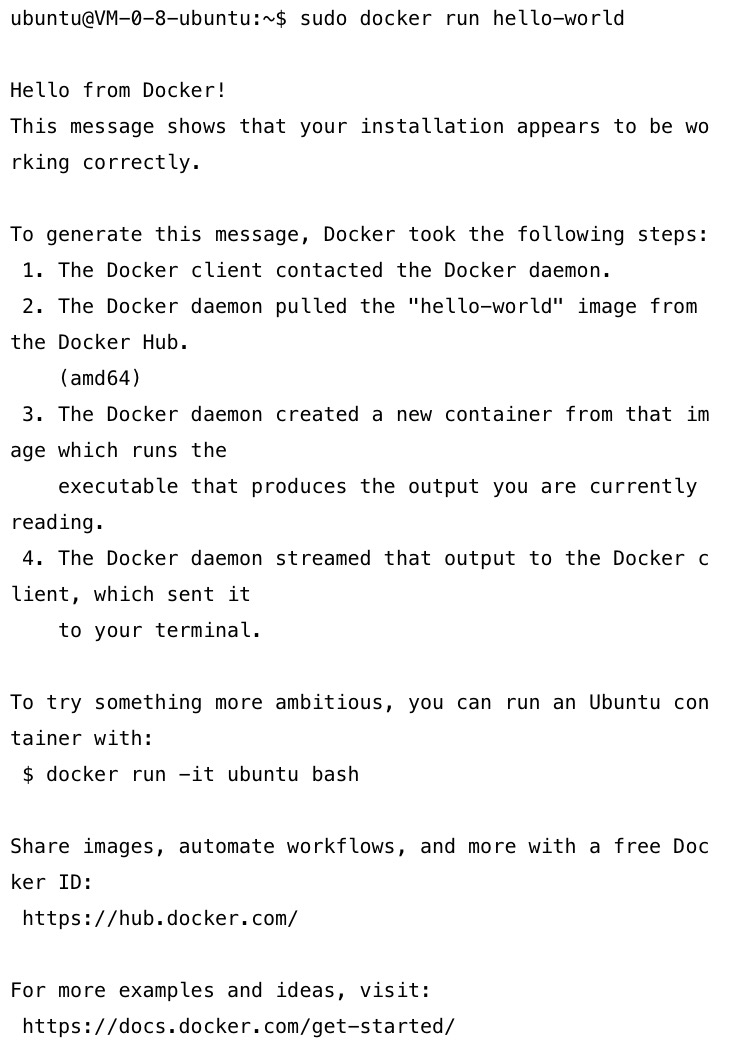
sudo docker run hello-world
显示如下:

- 查看 Dockers 版本
shell
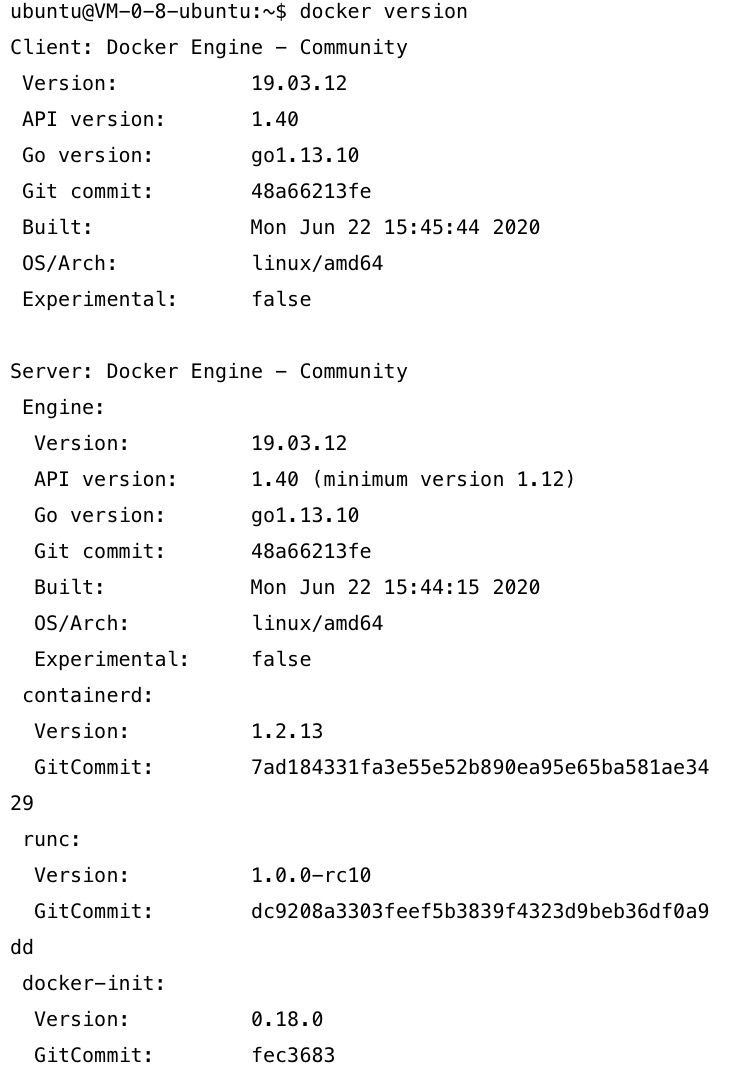
docker version
信息如下:

至此Docker社区版就已经安装完成。
部署 V2Ray
- 拉取最新的 V2Ray Docker 镜像
shell
docker pull v2ray/official:latest
- 创建配置文件、日志文件目录
shell
sudo mkdir /etc/v2ray
sudo mkdir /var/log/v2ray
- 创建配置文件
shell
vi /etc/v2ray/config.json
主体内容如下,自行修改。
json
{
  "log": {
    "access": "/var/log/v2ray/access.log",
    "error": "/var/log/v2ray/error.log",
    "loglevel": "warning"
  },
  "inbounds": [
    {
      "port": 123123, //端口号,自行设置
      "protocol": "vmess", //设置协议
      "settings": {
        "clients": [
          {
            "id": "020FAE20-5A43-6DF6-0000-7220B4884311", //GUID,各自生成
            "level": 1,
            "alterId": 64
          }
        ]
      }
    }
  ],
  "outbounds": [
    {
      "protocol": "freedom",
      "settings": {}
    }
  ]
}
- 运行 Docker
shell
docker run \
--restart=always \
--name=v2ray \
--net=host \
-v /etc/v2ray/config.json:/etc/v2ray/config.json \
-v /var/log/v2ray:/var/log/v2ray \
-i -t -d \
v2ray/official:latest
- 查看 Docker 状态
bash
docker container ls
结果如下:

Surge 配置
toml
🇭🇰TX = vmess,IP,123123,username=020FAE20-5A43-6DF6-0000-7220B4884311,tls=false
以上内容需要根据实际情况自行修改。
使用 Surge 测速尝试。

一个简单的 Vmess 科学上网环境就搭配完成了,虽然整体服务器速度有限,但是整体搭建过程还是很顺畅的。